Essential Oils, Fragrance Oils, How To, Introductions, Soap Making, Soaps
Easy Homemade Essential Oil Soap
Oct
Making your own soap is a brilliant way to save money, indulge in a little creativity and reduce your skin’s exposure to nasty, unnatural ingredients.
Homemade soap is also a great way of cutting down on single use packaging, experimenting with essential oils and, best of all, creating fabulous gifts for friends and loved ones. You might even decide to sell it!
In the age of 24/7 screens and technology, something as simple as making your own soap can be a brilliant way to reconnect with a loved one or just spend some time being mindful while you create something tangible. You’ll also be rewarded with a little spark of satisfaction and achievement every time you use it.
The trouble, however, is that making soap the traditional way just isn’t that accessible. It’s a process that requires patience and extreme caution, especially when handling lye, which is a key ingredient in all soaps. But don’t worry, there’s an easy way that we’ll get onto in a moment.
What is lye?
Lye is a highly soluble caustic chemical that is one of the main ingredients in soap making, usually coming in the form of sodium hydroxide. Without getting too bogged down in the science, soap makers combine lye (an alkali) with oils and/or butters (rich in fatty acids) through a process called ‘saponification’. When combined, these ingredients neutralise each other to form a salt which we know as soap.
While that sounds straightforward enough, lye has to be handled with great care and can cause serious damage to humans. From skin burns to blindness, lye is an extremely dangerous chemical and anyone using it to make their own soap must take thorough precautions including eye protection, gloves and appropriate clothing.
If you’re one of the majority who love the idea of making your own soap but get completely put off by the amount of equipment required, the risks involved and the long wait before it’s ready to use, then don’t let that stop you. There is a simple solution that allows you to make gorgeous homemade soap which is accessible to everyone – melt and pour soap bases!
Making your own soap using a melt and pour base maintains the creative element of the process while removing the fiddly dangerous bits and resulting in a product you can use that day.
Melt and pour – Easy homemade essential oil soap
It’s no secret that we’re huge essential oil fans here at Freshskin and we’re constantly looking at ways to get more of these incredible natural oils into our daily lives. The trouble is, we all have different preferences and there’s never a one-size fits all solution when it comes to finding great essential oil soap. The more you work with oils, the more you start to identify with their different qualities, and in no time at all you’ll start picking out your favourite fragrances and the impact they can have on your mood.
When it comes to making your own soap, there’s few things more exciting (to an essential oils lover at least) than trying out different combinations and blends to create beautiful smelling soaps. From a fresh smelling shower soap, packed with invigorating citrus oils, to help wake you up for the day to sensual bathtime blends that help you unwind, essential oil soaps are perfect way to start and end your day.
Making soap the traditional way is a lengthy process and requires up to a month for the soap to cure before it can be used and enjoyed; that’s where melt and pour soap bases come in. For a long time, melt and pour soap bases were dirty words among soap making connoisseurs, not dissimilar to ready-made cake mixes or jarred cooking sauces. However, as with most things, over time the range and quality of the products grew and improved to a point where now, even sellers of artisan and hand-crafted soap often admit to using a good quality melt and pour base.
What are melt and pour soap bases?
It’s no secret that we’re huge essential oil fans here at Freshskin and we’re constantly looking at ways to get more of these incredible natural oils into our daily lives. The trouble is, we all have different preferences and there’s never a one-size fits all solution when it comes to finding great essential oil soap. The more you work with oils, the more you start to identify with their different qualities, and in no time at all you’ll start picking out your favourite fragrances and the impact they can have on your mood.
When it comes to making your own soap, there’s few things more exciting (to an essential oils lover at least) than trying out different combinations and blends to create beautiful smelling soaps. From a fresh smelling shower soap, packed with invigorating citrus oils, to help wake you up for the day to sensual bathtime blends that help you unwind, essential oil soaps are perfect way to start and end your day.
Making soap the traditional way is a lengthy process and requires up to a month for the soap to cure before it can be used and enjoyed; that’s where melt and pour soap bases come in. For a long time, melt and pour soap bases were dirty words among soap making connoisseurs, not dissimilar to ready-made cake mixes or jarred cooking sauces. However, as with most things, over time the range and quality of the products grew and improved to a point where now, even sellers of artisan and hand-crafted soap often admit to using a good quality melt and pour base.
Melt and pour soap limitations
Many soap makers will argue that melt and pour soap bases take away your power to have complete control over what goes in to your homemade soap. While this is true to a certain extent, these days it’s possible to obtain soap bases to suit almost any preference. From organic and vegan bases to shea butter, oatmeal or even goat’s milk soap bases, the range is vast and there are plenty of all natural options for those who want to keep unnecessary chemicals out of their skin products.
So while it’s true that the melt and pour soap making method will take away some control, for those on limited time, budget and patience, we think it’s a brilliant alternative that can still tick all the boxes if you source your soap base carefully.
Creating the perfect essential oil blend for soap
One of the things we love most about making soap the melt and pour way is that it allows us to focus entirely on the creative side of our end product. We’re obsessed with creating gorgeous essential oil blends and just love adding them to ready made soap bases to enjoy their various mood-lifting benefits.
What is an essential oil blend?
An essential oil blend is any combination of two or more essential oils. By combining different oils you get the benefits of each whilst creating a unique fragrance that takes the different notes from each oil in the blend. Just like your favourite perfume or aftershave, a good blend will have top notes that you smell first, middle notes that form the body of the scent and base notes that last the longest.
In our Essential Oil Blending Guide, we walk you through the process of creating great blends as simply as possible. We look at the three most popular methods for choosing which oils to combine and come up with some example blends that you could try:
By fragrance
Floral, citrus, spicy, woody…
By effect
Lift your mood or get grounded
By note
Top, middle or bottom?
Using our basic blending principles, you can easily build your own combinations by starting with an essential oil of your choice and identifying which other oils blend best it.
How to make melt and pour soap
The best way to decide if melt and pour soap making is for you is to have a go yourself. For around £20, you can purchase all of the equipment, ingredients and oils you need to get started and from that you’ll be able to make several bars of soap for you to use or to give to your loved ones.
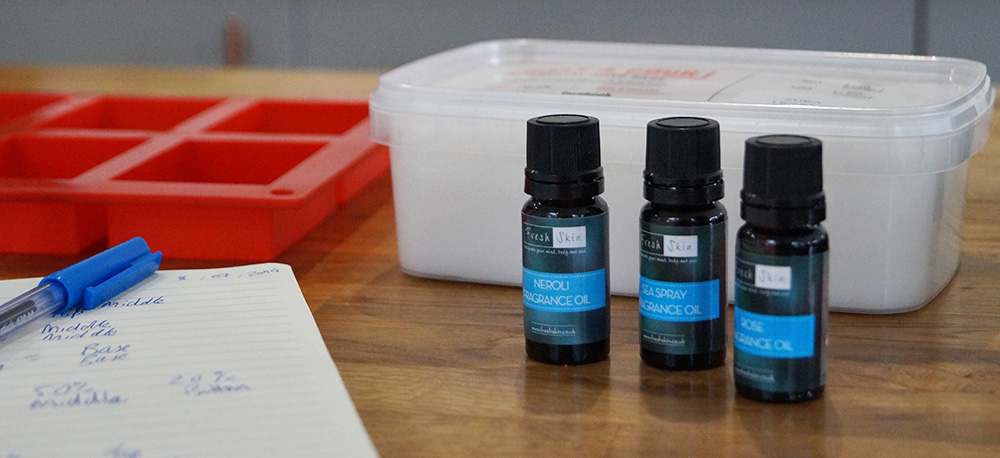
Decide on your fragrance
The first step requires a little planning. If you want to use your own blend of essential oils it’s best to do that right away. Essential oil blends need at least 48 hours to properly rest so create your blend a few days in advance of your soap making session.
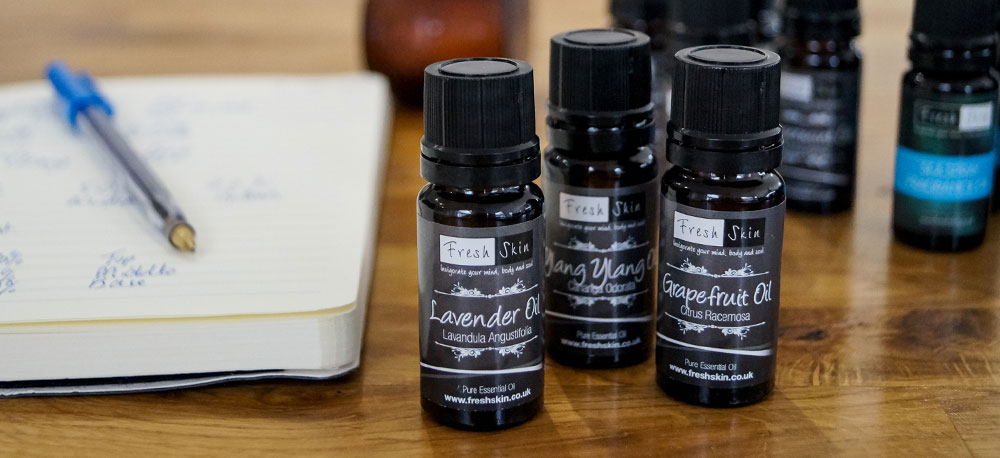
In this example, we’ve decided to make one of our favourite relaxing scents based around the citrus top notes of grapefruit oil, the relaxing floral middle notes of lavender and the irresistible base notes of ylang ylang.
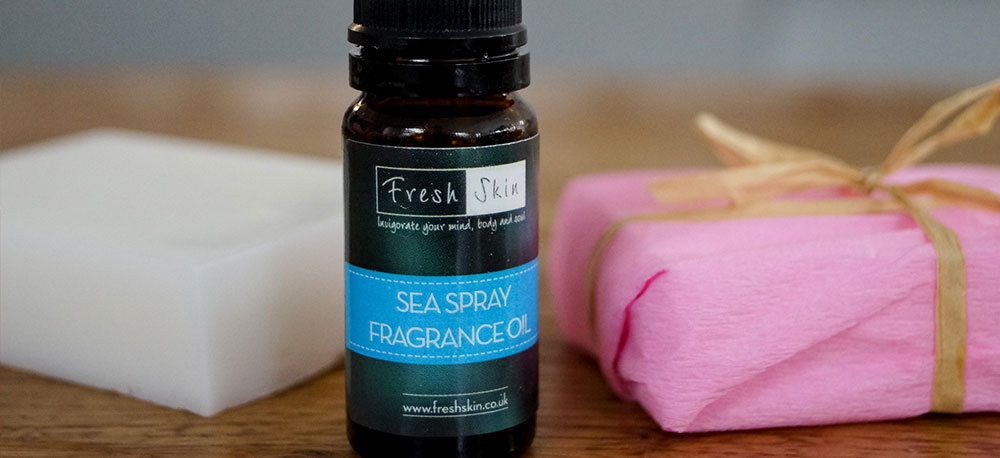
Alternatively, pick one of our amazing pre-blended fragrance oils that you can use right away! These ready made essential oil blends are perfect for anyone looking for a specific scent and make the process even easier.
Freshskin favourite: If you do decide to use our pre-blended fragrance oils, we simply love the scent of our Sea Spray fragrance oil in soaps.
Getting everything ready
When the time comes to make your soap you’ll need to be ready to move quite quickly, so it’s best to have all of your apparatus laid our and ready to go.
What you’ll need:
- A pen and notepad
- A glass mixing bowl or measuring jug
- Kitchen scales
- A wooden spoon
- A teaspoon
- A large kitchen knife
- A soap mould
- Rubbing alcohol spray
- Melt and pour soap base
- Your essential oil, fragrance oil or blend
Basic rules of thumb:
- For one bar of soap you will need approximately 100g of soap base
- If you are using an essential oil blend the recommended dose level in soap is usually up to 3%. Check the individual oils as some can only be used at a rate of 1%
- Most of our fragrance oils have a soap making dose level of 1%, again – check the recommendation on the bottle or our website
- When converting grams of soap to ml of essential oils, divide by 0.9
- One teaspoon of essential oil is roughly 5.9ml
- 20 drops of essential oil are roughly 1ml
How much essential oil will you need for a bar of soap?
If a bar of soap weighs around 100g, then you will look to use between 1-3% essential oil blend or fragrance (depending on the oils).
Freshskin top tip: When starting out, we always recommend starting at the lower end to ensure your fragrance isn’t overpowering.
Example: Let’s say we want to use a dose level of 1%. So for one bar we’ll need the equivalent of 1g of essential oil. To convert that to millilitres, open up your phone’s calculator and divide by 0.9 (0.9 is the general rule for converting grams to ml based on the density of essential oils).
Therefore, we’ll need 1.1ml of our blend per bar of soap. Based on our guide above, that means we need roughly 22 drops of essential oil (1.1ml x 20 drops per ml) for each bar of soap.
Melt and pour soap instructions
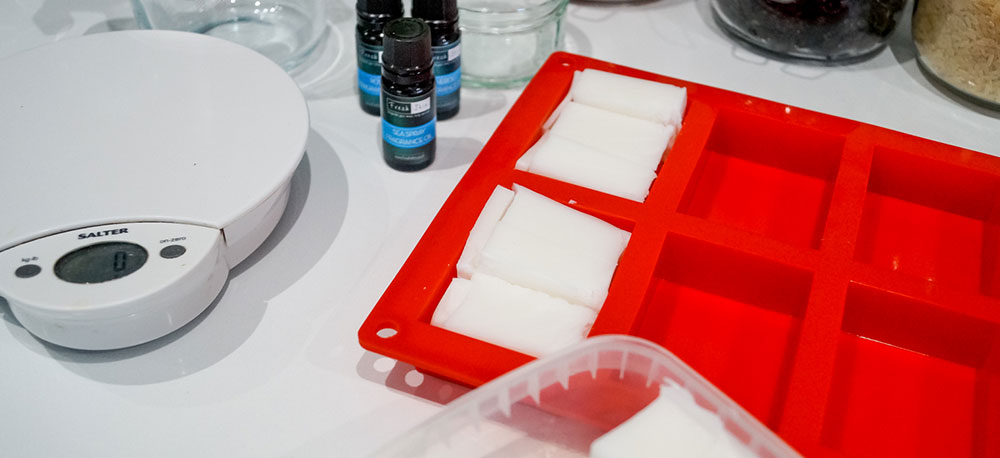
1. Cut your soap base into chunks
Using a clean sharp kitchen knife, carefully cut your soap base into chunks that are roughly 1 inch thick. Add them to your mixing bowl and check the weight using the 100g per bar rule of thumb, or add them to your mould to gauge how much you need for the quantity of soap you hope to make.
Freshskin top tip: The first time you make melt and pour soap, start with just a couple of bars. It will take the pressure off and allow you to build your soap making confidence.
2. Melt the soap
The easiest way to prepare your soap base is to pop it in the microwave. Heat at short intervals of 30-40 seconds and stir after each blast until the soap has fully melted. The soap base will be ready to use when it is a smooth liquid with no lumps.
Freshskin top tip: The soap will continue to melt once you remove it from the microwave so try to resist the temptation to overheat it.
If you’d prefer to do it on the hob, simply fill a saucepan with around 2 inches of water, sit a glass mixing bowl on top, add your soap base to the bowl and gradually bring the water to a gentle simmer. The heat from the water will warm the bowl and slowly melt your soap base. Stir occasionally until all the lumps have gone.
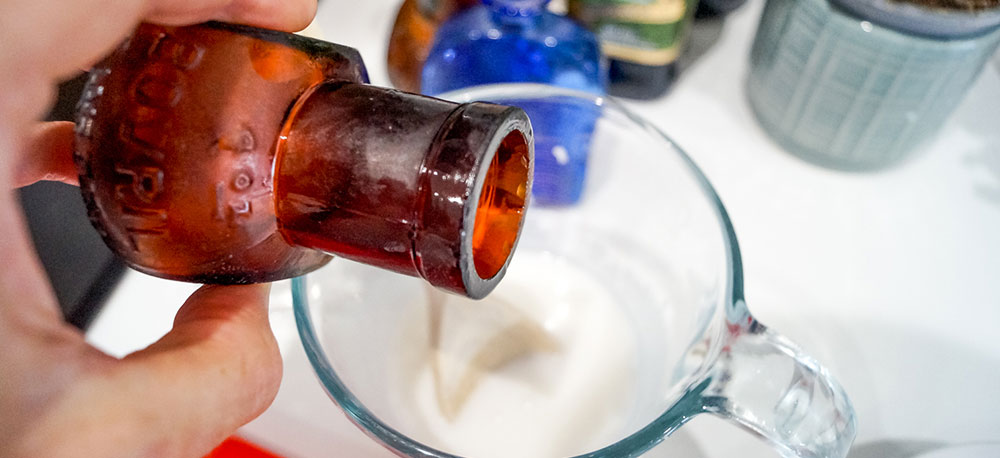
3. Add your essential oils, fragrance oils or blend
Once you’ve safely removed your bowl of melted soap base from the heat source, it’s time to stir in your oils. Simply add the right amount of essential oil blend or fragrance oil and give it a good stir to ensure the oils are mixed right through the soap base.
At this stage you might also wish to stir in dried herbs or flowers, poppy seeds or ground oats for exfoliation.
4. Pour the mixture into your soap mould
Place your soap moulds onto a rigid, movable base (like a tray) and carefully and slowly pour the melted soap base into your soap making mould.
5. Remove the bubbles
Gently tap the side of your soap mould to encourage bubbles to rise to the surface. Then give the top of your soap bars a spray with rubbing alcohol which will help to remove them.

6. Leave it to set
Either pop your soap mould into the fridge for at least one hour, or move to the side for a few hours until the soap has fully cooled and reset.
7. Clean up
Don’t put off the big clean up for too long, everything will be much easier to clean while the soap is still warm and not set.
You see, soap making really can be that simple – especially if you use one of our pre-blended fragrance oils.
Easy homemade Cornish Sea Salt Soap recipe
Capture the refreshing ocean smells of holiday with this super simple sea salt soap recipe.
Makes 2 x 100g bars
Ingredients
- 200g of soap base of your choice cut into 1 inch chunks (We love Stephenson’s Soap Melt and Pour Base – Shea Butter)
- 40 drops of Sea Spray fragrance oil
- 75g – Cornish Sea Salt
Method
- Melt the soap in a microwavable glass bowl – stopping to check and stir every 30 seconds
- Once melted, stir in 40 drops of Sea Spray Fragrance Oil
- Stir in 75g of Cornish Sea Salt
- Pour the mixture evenly into two soap bar moulds
- Spray the surface with alcohol rubbing spray to remove bubbles
- Pop in the fridge and leave to set for at least one hour
Freshskin Lavender & Grapefruit Shea Butter Soap recipe
Unwind and relax with this gorgeous blend of citrus and floral fragrances.
Makes 2 x 100g bars
Ingredients
- 200g Stephenson’s Soap Melt and Pour Base – Shea Butter cut into 1 inch chunks
- 60 drops of our pre-prepared lavender oil (30 drops), grapefruit essential oil (18 drops) and ylang ylang essential oil (12 drops) blend (left to rest for 48 hours)
Method
- Melt the soap in a microwavable glass bowl – stopping to check and stir every 30 seconds
- Once melted, stir in 40 drops of Sea Spray Fragrance Oil
- Stir in 75g of Cornish Sea Salt
- Pour the mixture evenly into two soap bar moulds
- Spray the surface with alcohol rubbing spray to remove bubbles
- Pop in the fridge and leave to set for at least one hour
How to store homemade soap
Once your soap has set you can use it right away. However if you make a batch of soaps and need to store some away, pop them in a covered container that allows air flow. Shoe boxes are a great option but if you want to use a plastic container, make sure there are some ventilation holes. Homemade soap needs to breathe, otherwise there is a risk it becomes rancid and loses its wonderful aroma.
We recommend keeping similar fragrances together to avoid the stronger aromas dominating some of your more subtle blends.