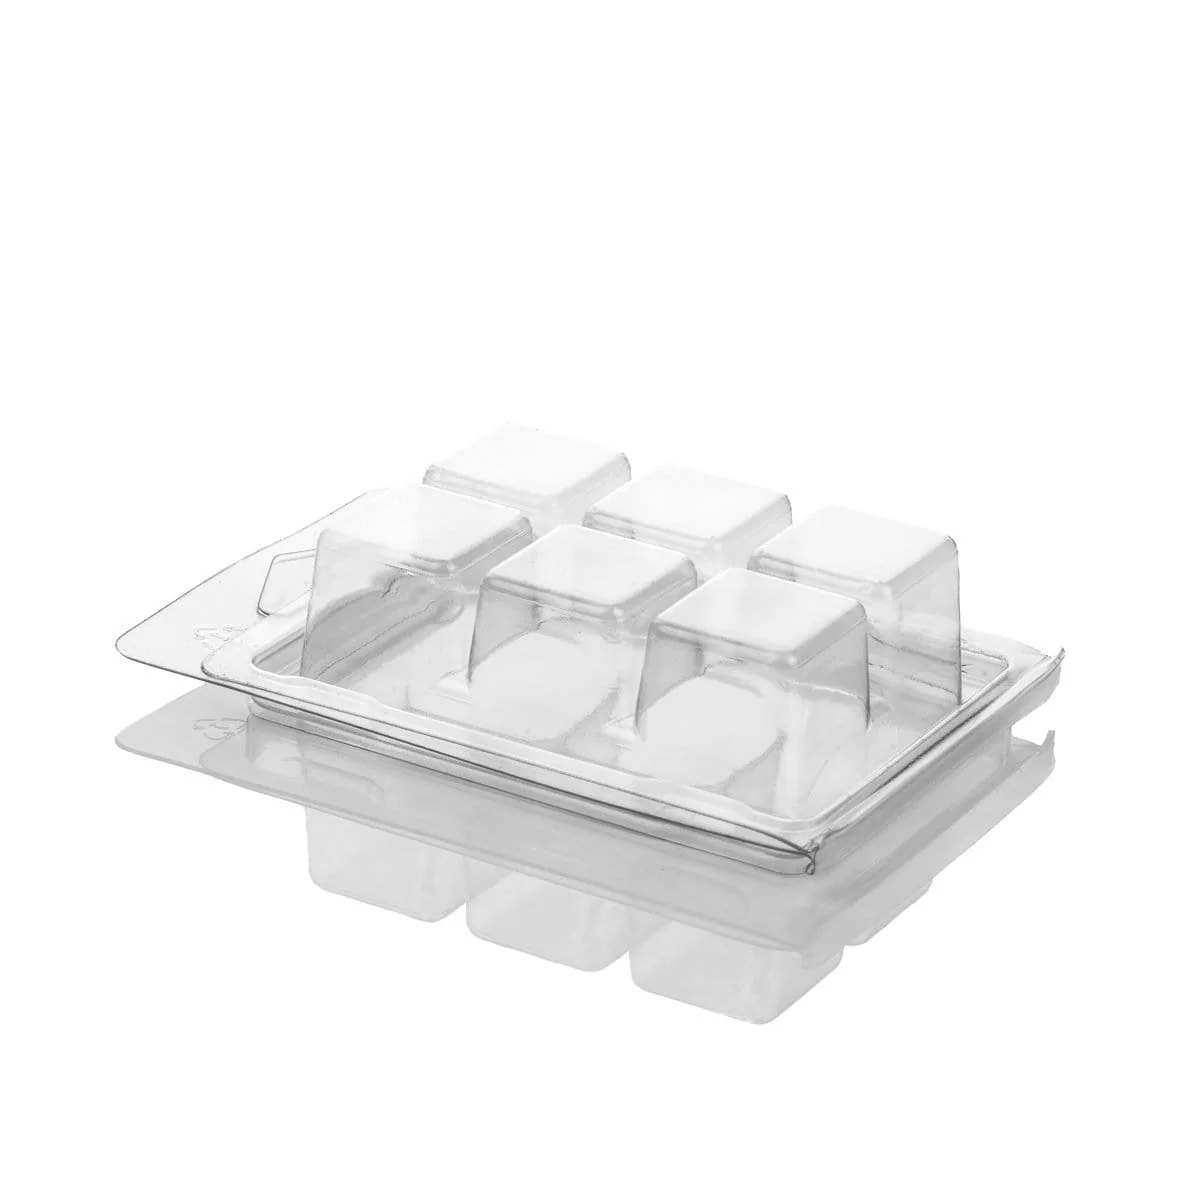
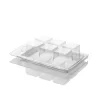
6 Cavity Square Clamshell
From £4.29
Our 6 Cavity Square Clamshells set the standard for both quality and sustainability. Proudly manufactured in the U.K., these moulds are crafted from robust 700-micron plastic to ensure durability and repeated use. What truly sets them apart is their eco-friendliness: they are made from 88% recycled PET, and they’re 100% recyclable when you’re done.
Our 6 Cavity Square Clamshells set the standard for both quality and sustainability. Proudly manufactured in the U.K., these moulds are crafted from robust 700-micron plastic to ensure durability and repeated use. What truly sets them apart is their eco-friendliness: they are made from 88% recycled PET, and they’re 100% recyclable when you’re done.
Recycling PET lends a distinct character to these clamshells. You may notice a subtle grey or blue tint in the plastic, depending on the mix of recycled materials. This is a signature of their sustainable origin and will not affect the look of your finished melts.
Product Specifications:
- Capacity: Each clamshell holds up to approximately 90 grams of wax in total, spread across 6 cavities. For smaller melts, you can fill with less wax according to your project’s needs.
- Dimensions (Closed): 90mm x 71mm x 26mm, with an extra 17mm at the top if you choose to hang your product.
These square clamshells are ideal for presenting your melts neatly—just pop out a segment whenever you want to enjoy a burst of fragrance.
Tips and Tricks for Perfect Wax Melts
Great results come from a blend of quality materials and careful technique. Here are some tried-and-true tips to help you make beautiful, fragrant wax melts using your 6 Cavity Square Clamshells.
Master Your Wax Temperature
The right pouring temperature is crucial for success with plastic clamshell molds. Overheating wax is a common mistake—it can warp or weaken your moulds, and even cause leaks.
- Ideal Pouring Temperature: 55°C to 60°C (131°F to 140°F)
- Maximum Pouring Temperature: Do not exceed 70°C (158°F); pouring hotter than this may damage the mould or cause imperfections.
Always use a precise thermometer and allow your melted wax to cool to the right temperature range before pouring.
Perfect Your Pouring Technique
Getting a smooth, professional result starts with how you pour the wax. For the best outcome:
- Test Pour: Begin by pouring a small (about 5mm deep) layer into each cavity. Allow this thin layer to start setting—it will expose any leaks or weak spots in the mold before you commit to a full fill.
- Main Pour: If there are no leaks, slowly fill each cavity to your desired level. Take care to pour gently and steadily to avoid spills and bubbles.
This step-by-step approach not only minimises wastage but also keeps your workspace cleaner and your wax melts looking great.
Troubleshooting Common Wax Melt Issues
Even with the best molds and careful technique, challenges sometimes happen. Here’s how to tackle the most common issues:
What If My Clamshell Leaks?
If you spot a leak during your initial pour, pause and set that mould aside. Once the wax has cooled and set, you can pop the wax out and discard of it.
Why Do My Wax Melts Have Frosting?
Frosting—which appears as small, white patches—can happen when wax cools too quickly or is poured at an incorrect temperature. While it doesn’t impact the fragrance or performance, it can affect your product’s appearance.
- Pour at the recommended lower temperatures (55°C to 60°C).
- Let your melts cool slowly in a warm, draft-free environment.
How Can I Get a Stronger Scent Throw?
Achieving a powerful fragrance is every wax melt maker’s goal. To enhance scent throw:
- Use the correct amount of fragrance oil; check your wax manufacturer’s recommendations (typically 6%–10% by weight).
- Add fragrance oil at the optimal temperature, often around 85°C (185°F), and stir the blend gently but thoroughly for even distribution.
- Allow melts to cure for at least 48 hours (up to two weeks) before use. This deepens the scent and helps it last longer in your home.
| Weight | N/A |
|---|---|
| Quantity |
Be the first to review “6 Cavity Square Clamshell”
Related products
Reviews
There are no reviews yet.